Full Studio Set Up
Personalize your WHCC Studio Settings to take full advantage of everything Studio has to offer.
On this page:
What You'll Need
WHCC Account No. and Password
Your Logo
PNG or JPG
Accent Color
RGB or Hex
A Folder of Images
JPG Files
Banking
Bank Account or Debit Card
Add Your Branding
Click on the Branding section under your Studio Settings and customize the look of all your shared links.
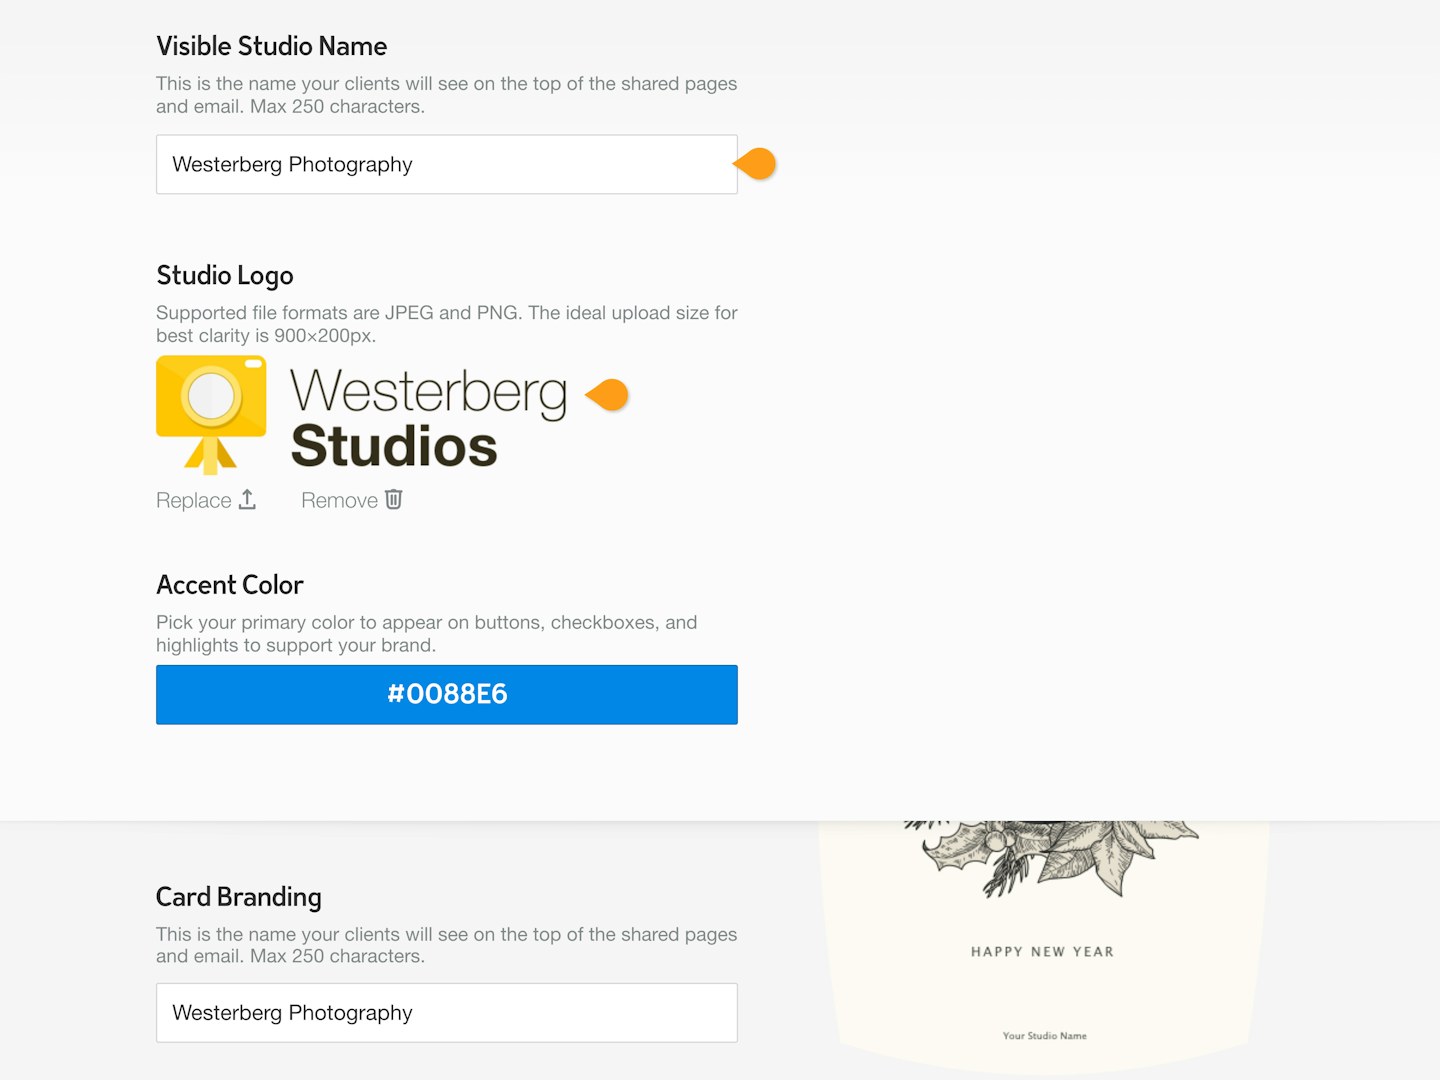
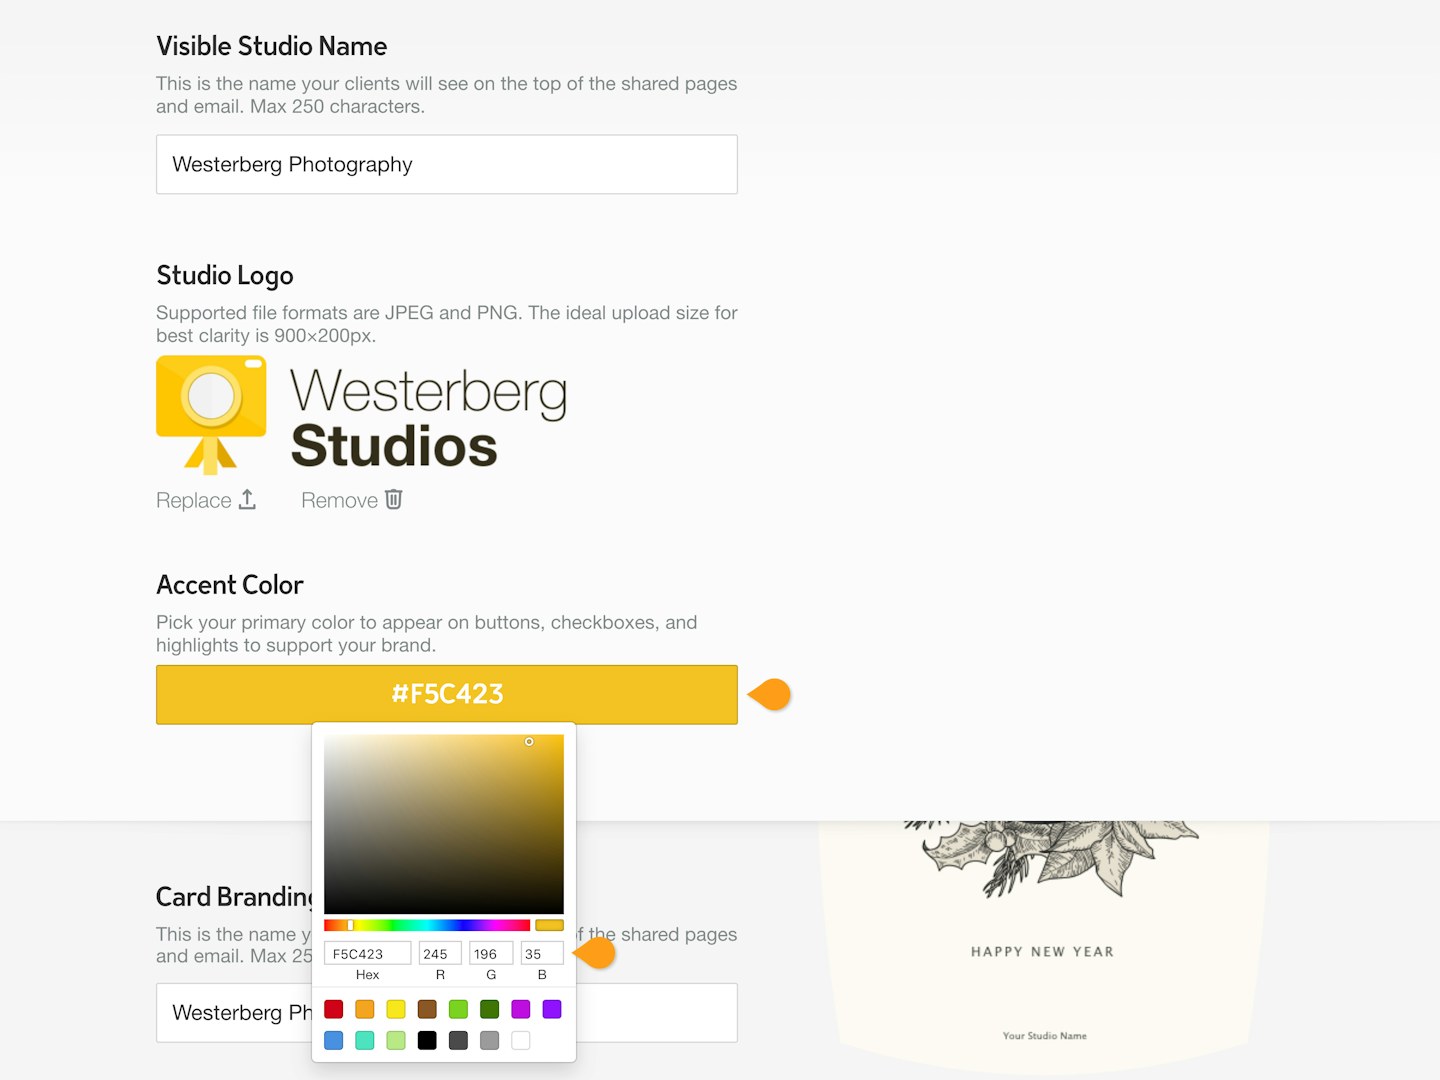
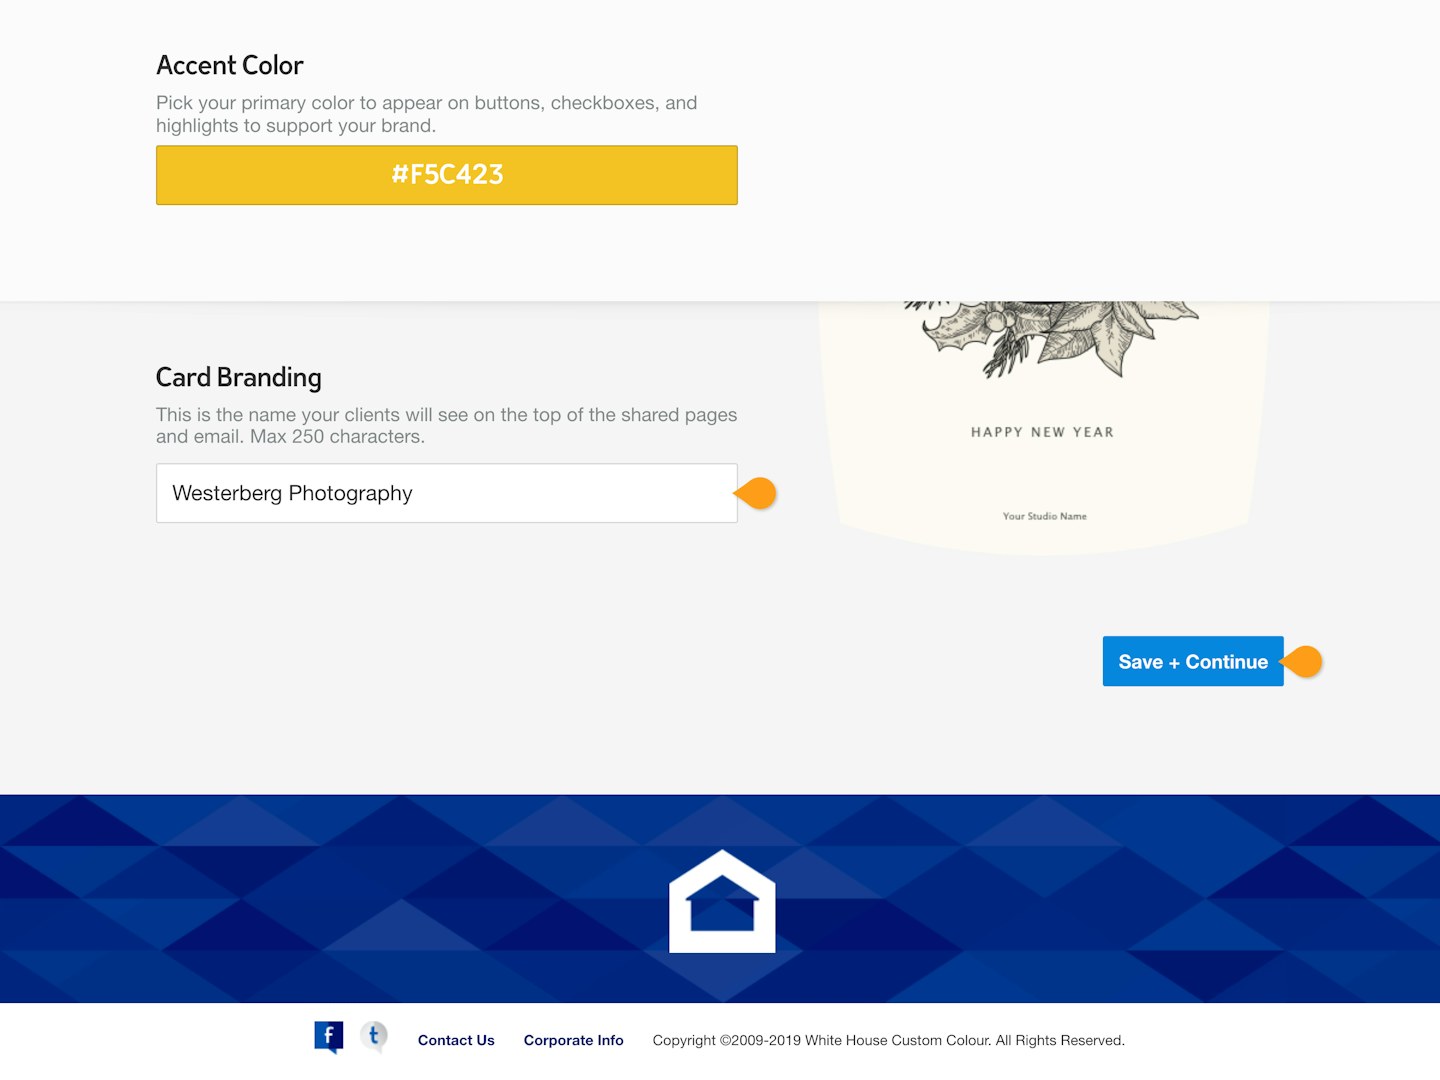


Confirm your studio name and upload your logo.
Select an accent color to go with your logo.
Confirm the Business name you want added to card designs. Click Save + Continue when you're done.
Set Your Pricing
Studio offers a great workflow for your clients to purchase cards through a shared link. To set this pricing, click on the Products & Pricing section of your Studio Settings.
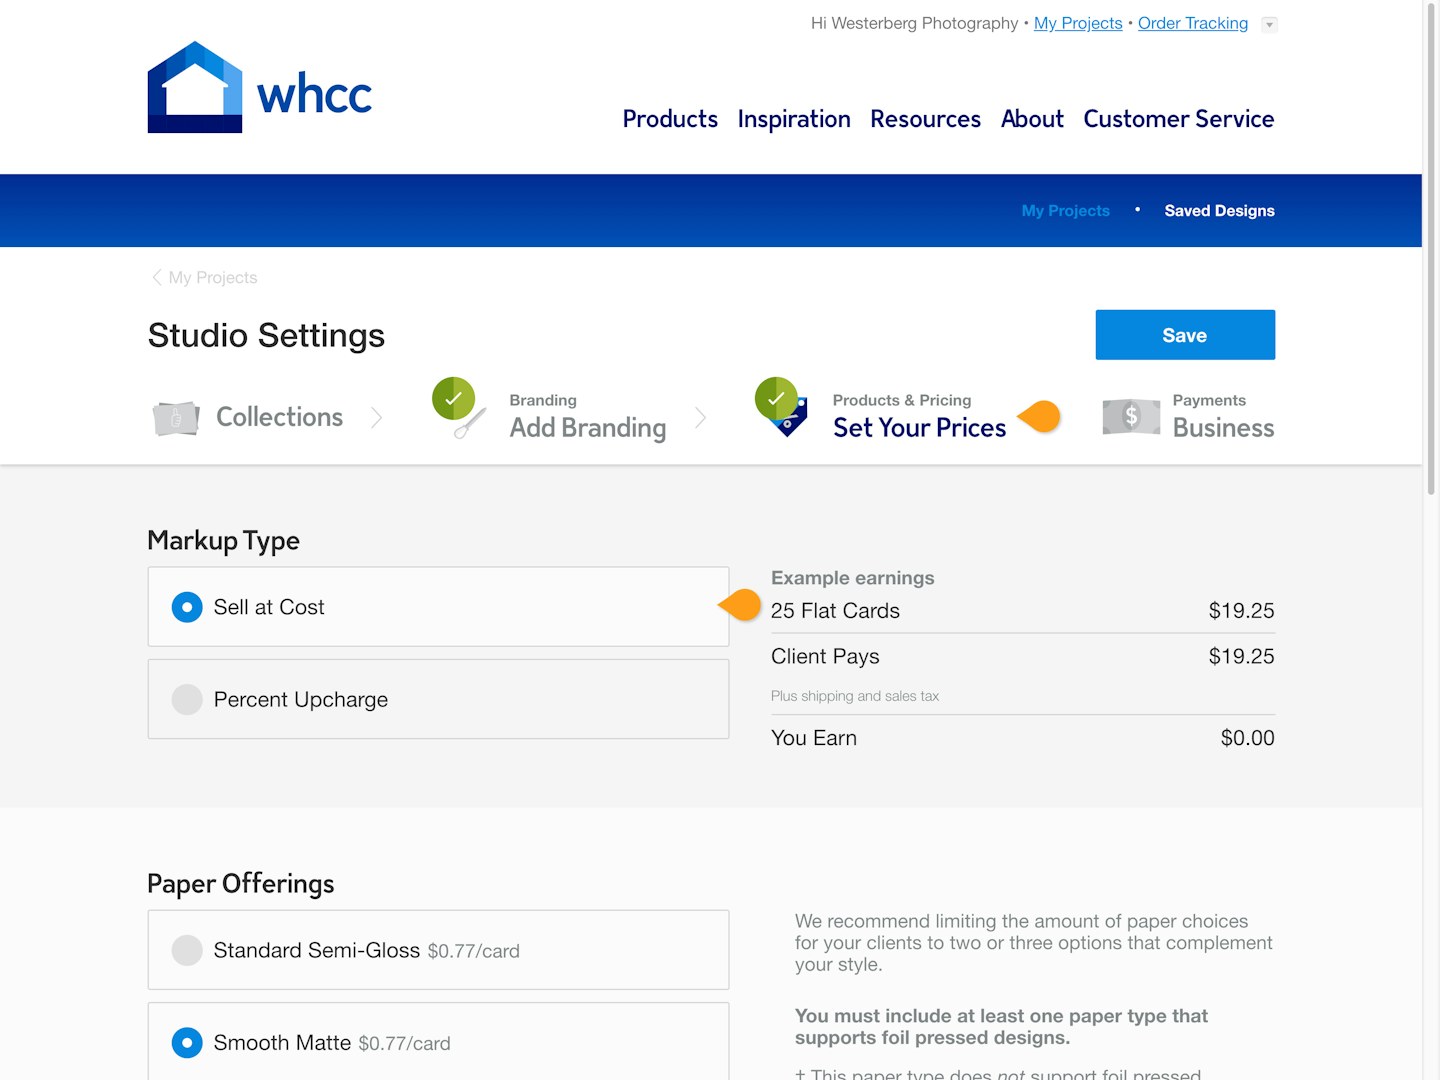
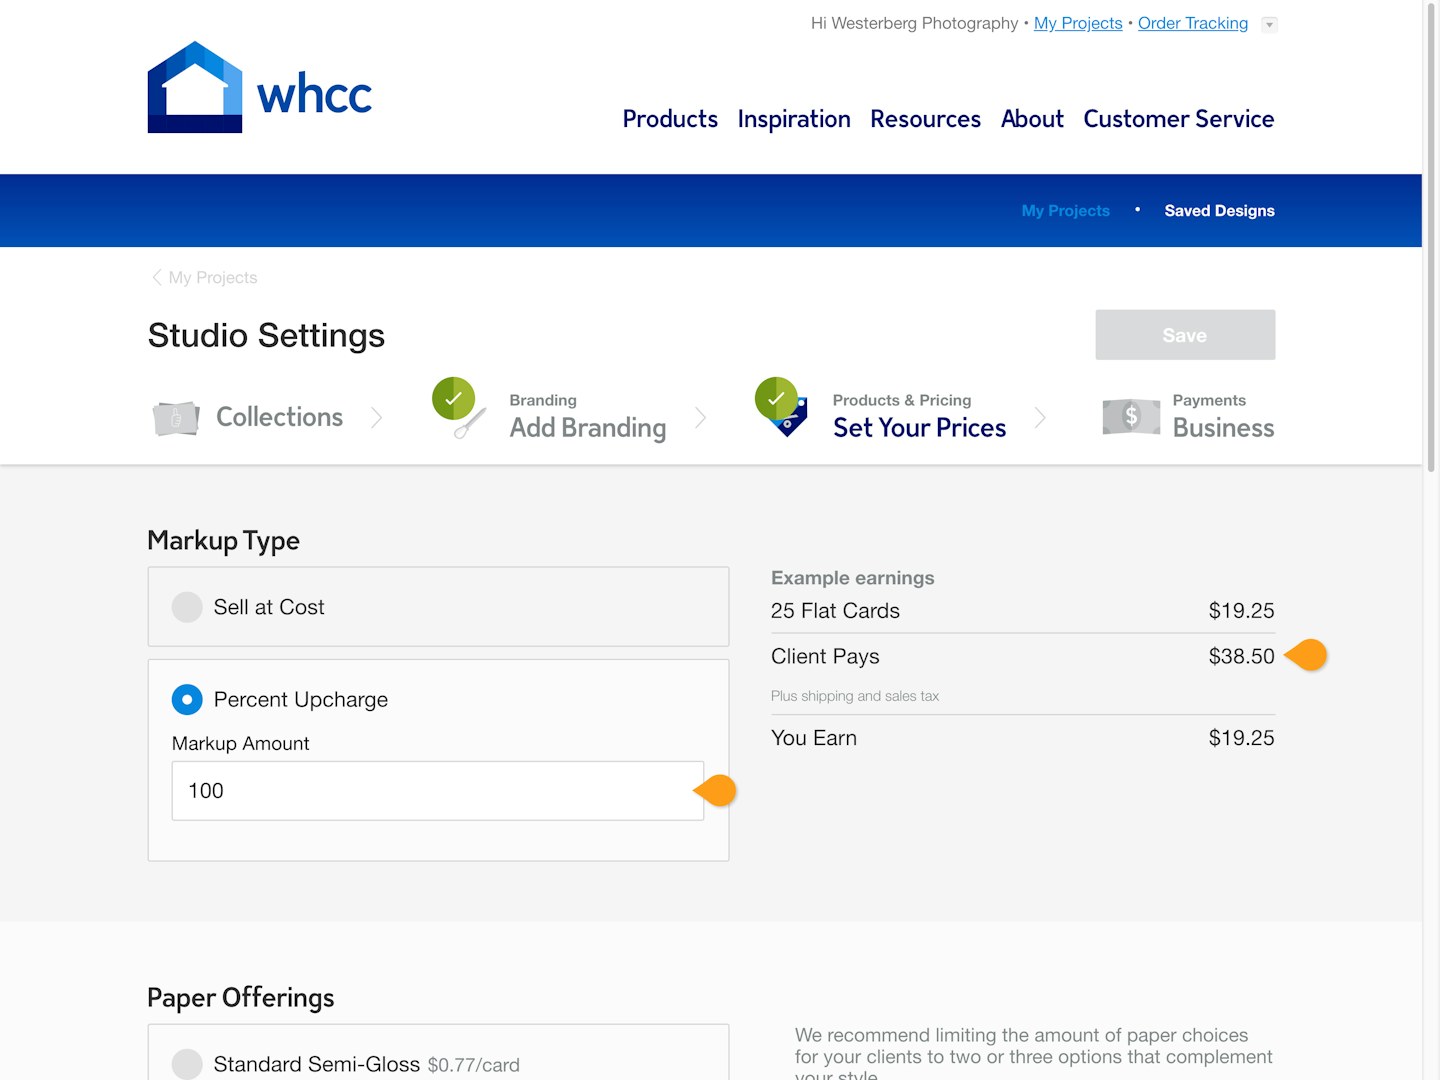


Choose your Markup Type and preview the pricing on the right.
To sell cards with a profit, enter your preferred Percentage Upcharge in this field and see the details reflected on the right.
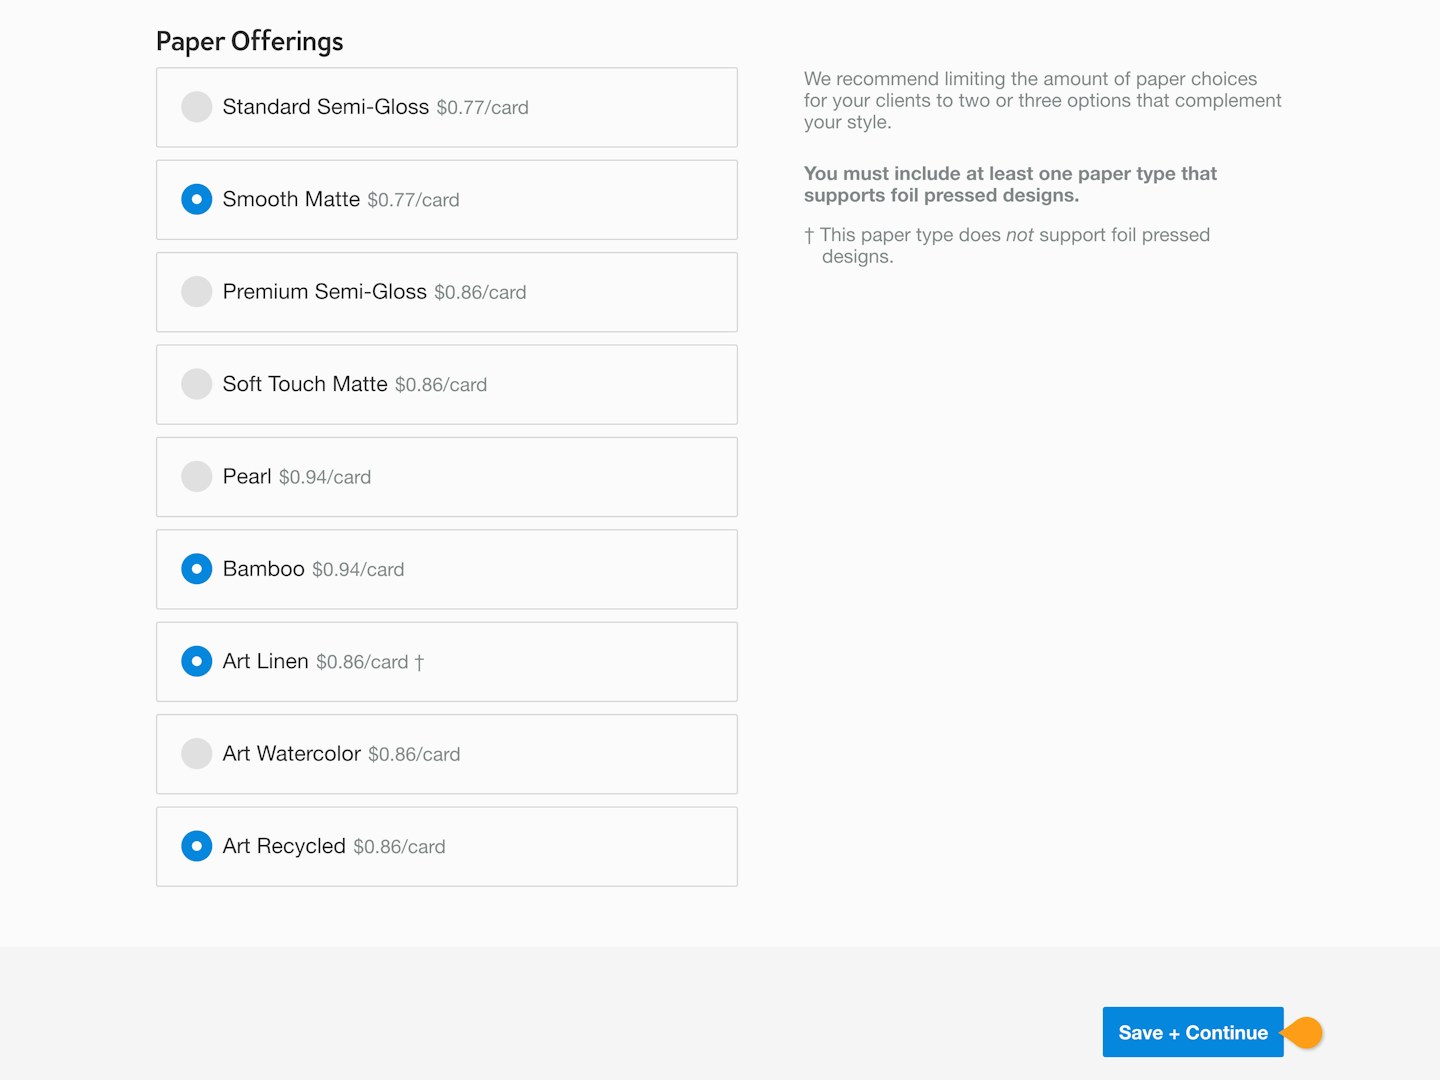
Curate your paper selection and click Save + Continue to complete.
Payment Settings
To sell cards to your client through a shared link, you are required to set up a Stripe account to handle transactions. Stripe is a safe and secure system that collects payment from your client, distributes the cost of goods to WHCC, and then delivers the profit directly to your bank account or debit card. To connect an existing Stripe account or set up a new one, head to the Payments section of your Studio Settings.
WHCC Tip
New to Stripe?
We recommend that you create a Stripe personal stripe account to then link to your WHCC Studio account for more control and management.
Stripe Account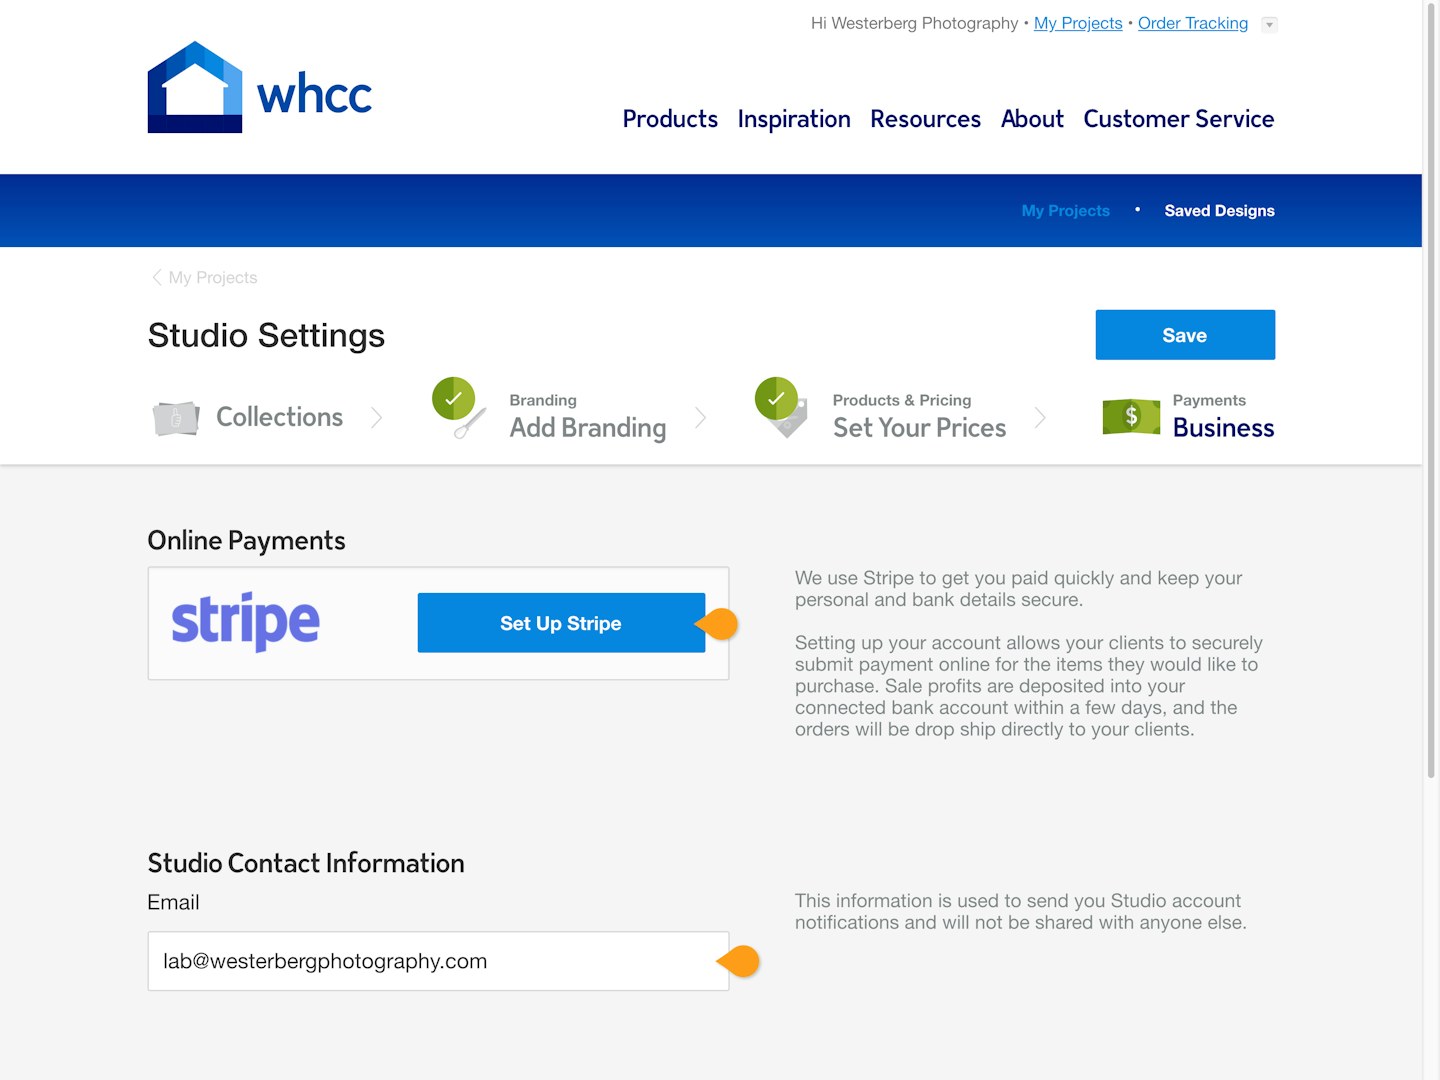
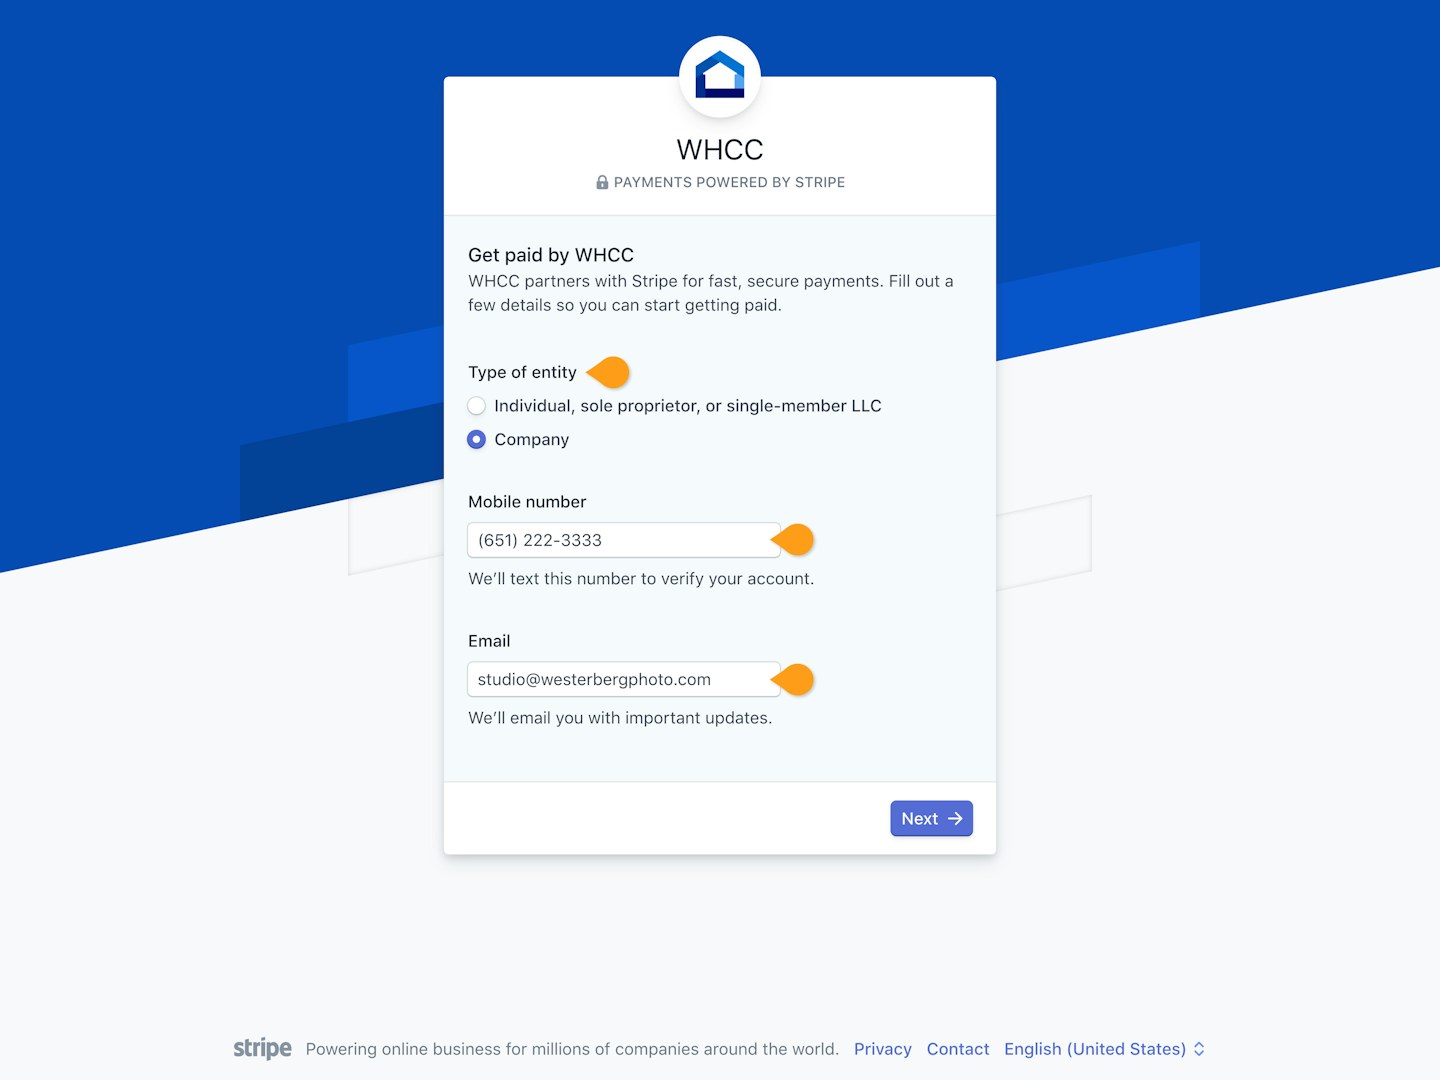


Start your Stripe set up by click the Set Up Stripe button. This will open a new window and take you away from the WHCC website.
You will be walked through a series of account set up pages. Have your business information and your bank account or debit card details ready.
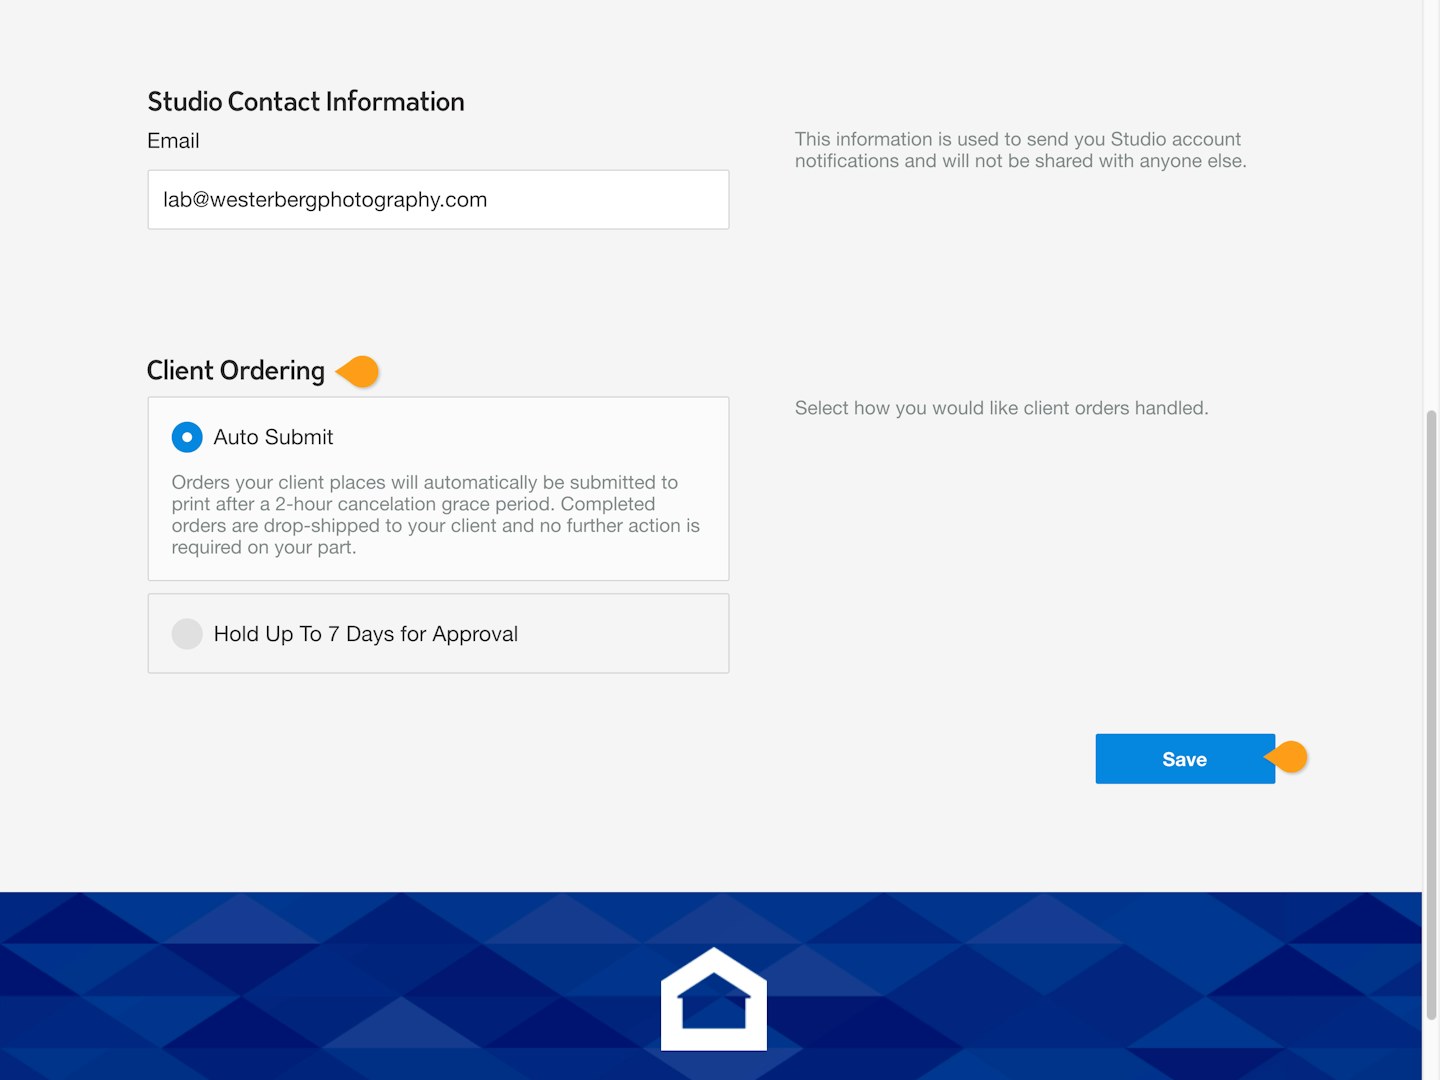
Once your account is set up, complete your other billing details and click Save at the top of the screen.
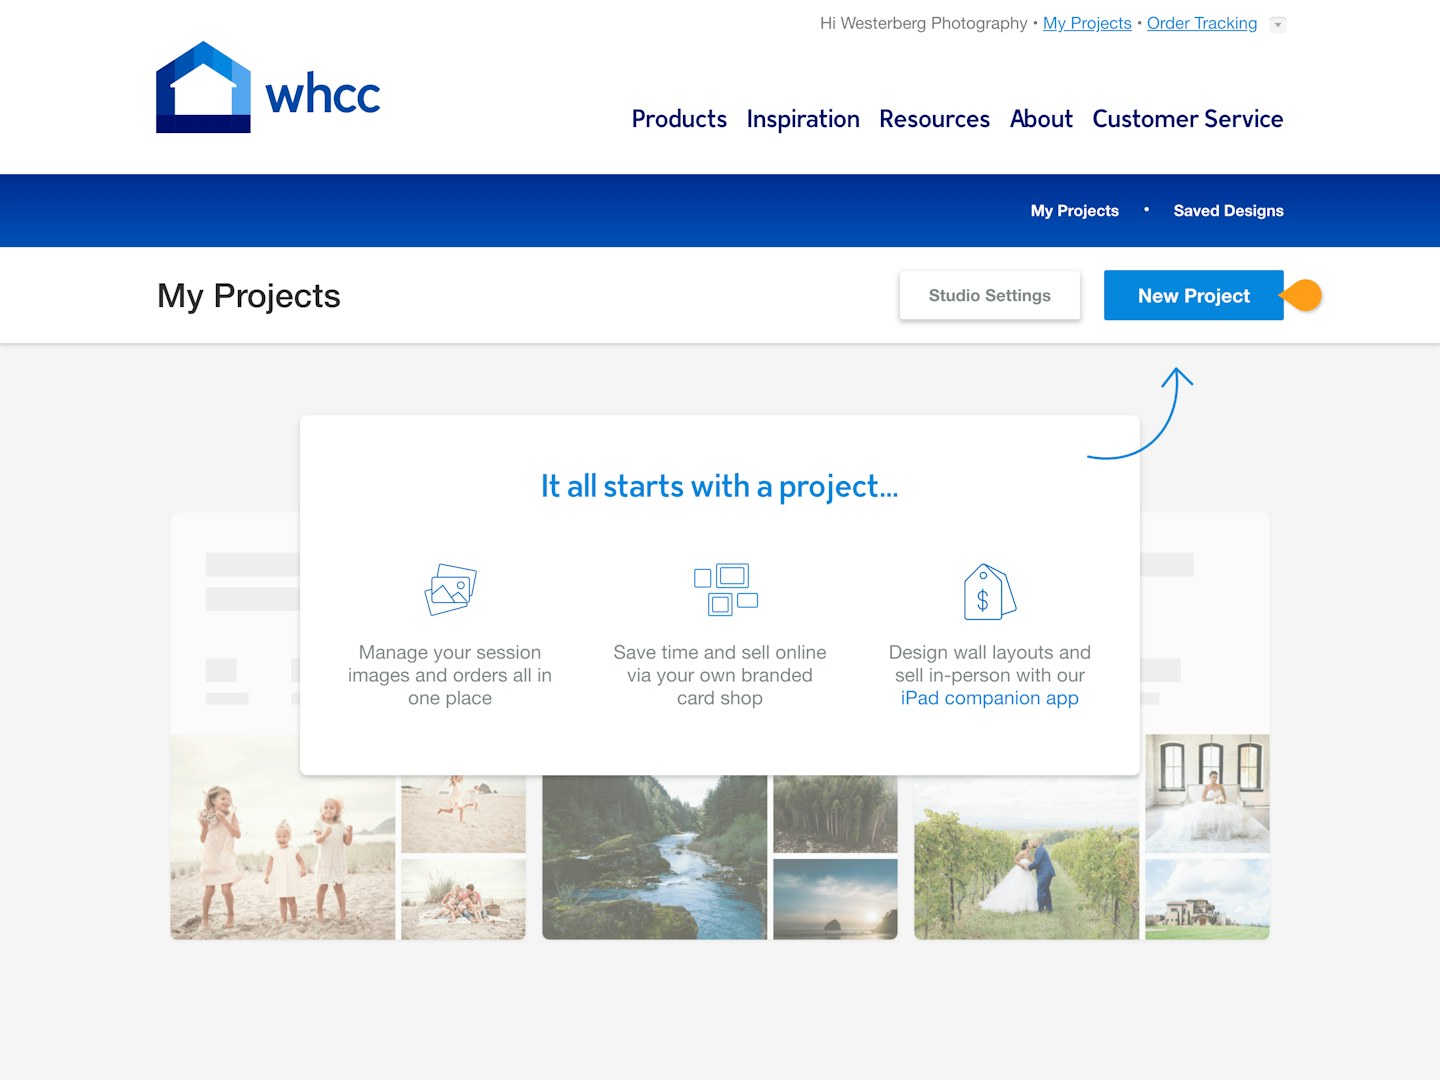
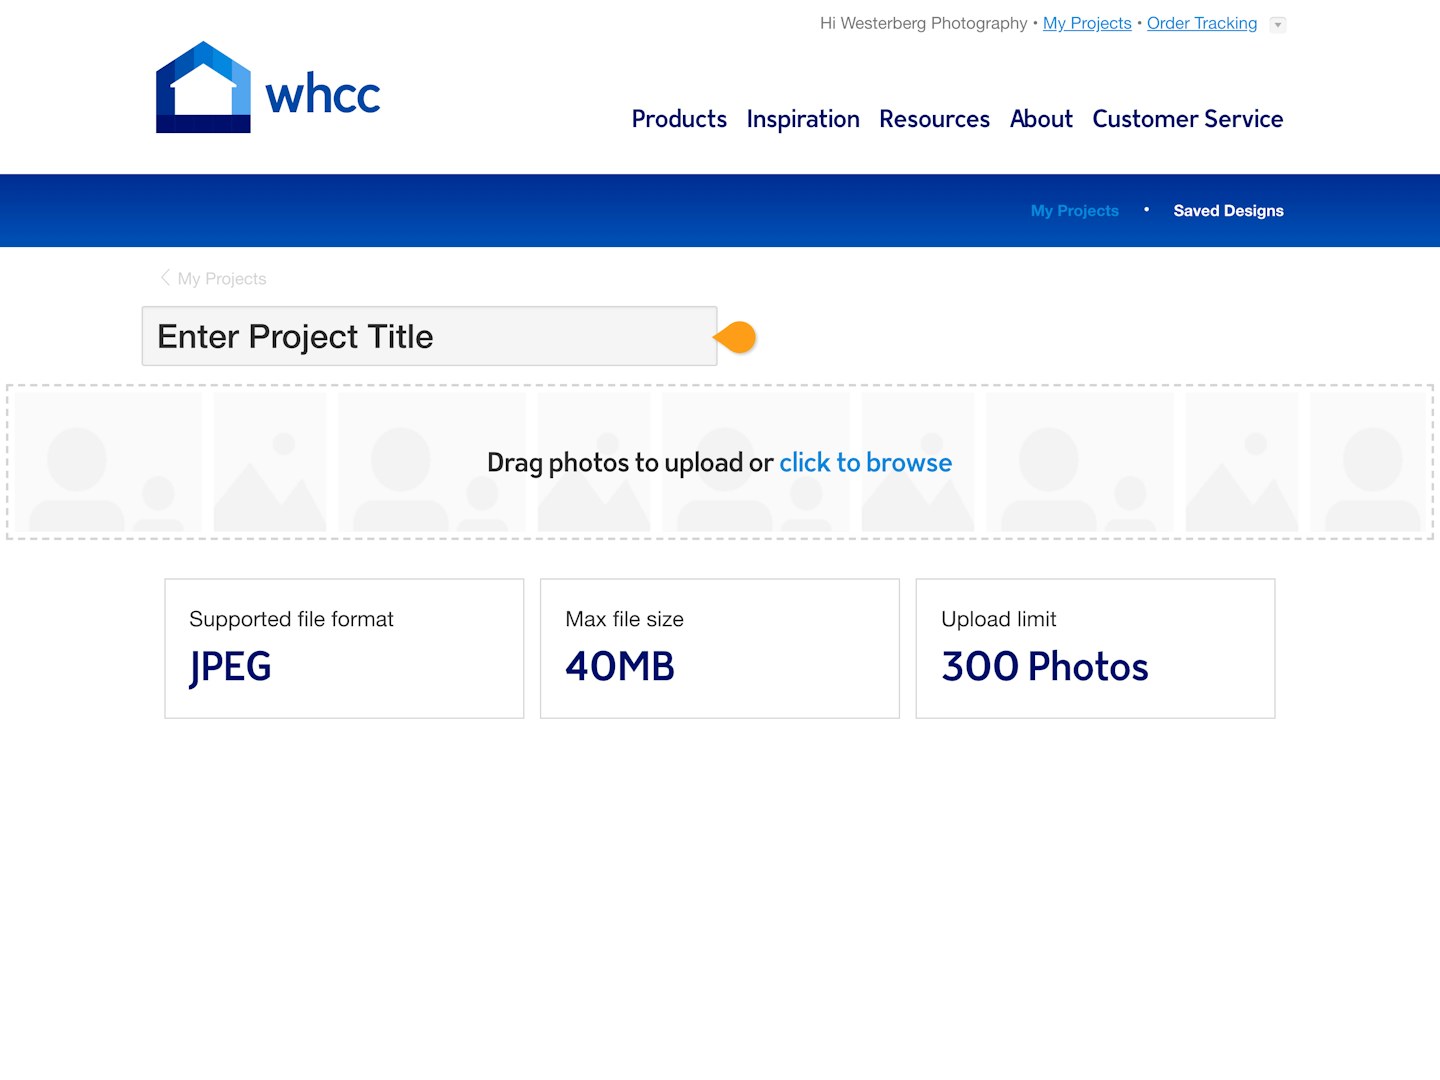
Create A Project
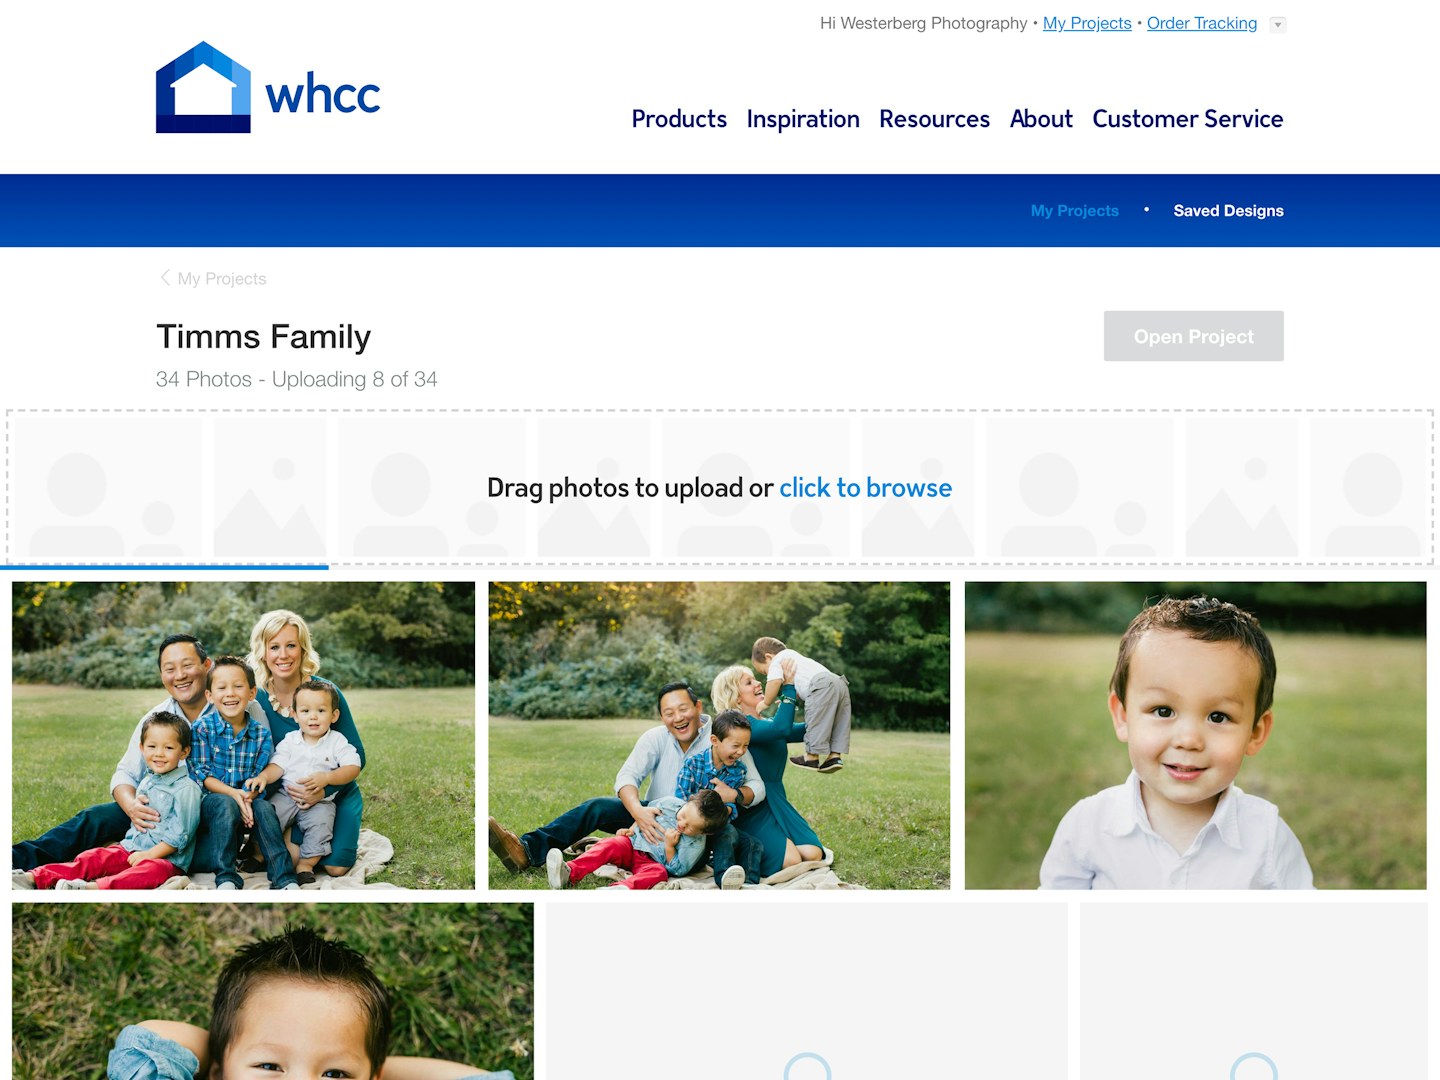
You have done all of the hard work and now it is time to have fun! Go back to your My Projects page and create a project with your clients images. Once this is done you can start sharing images, cards, and creating products.
